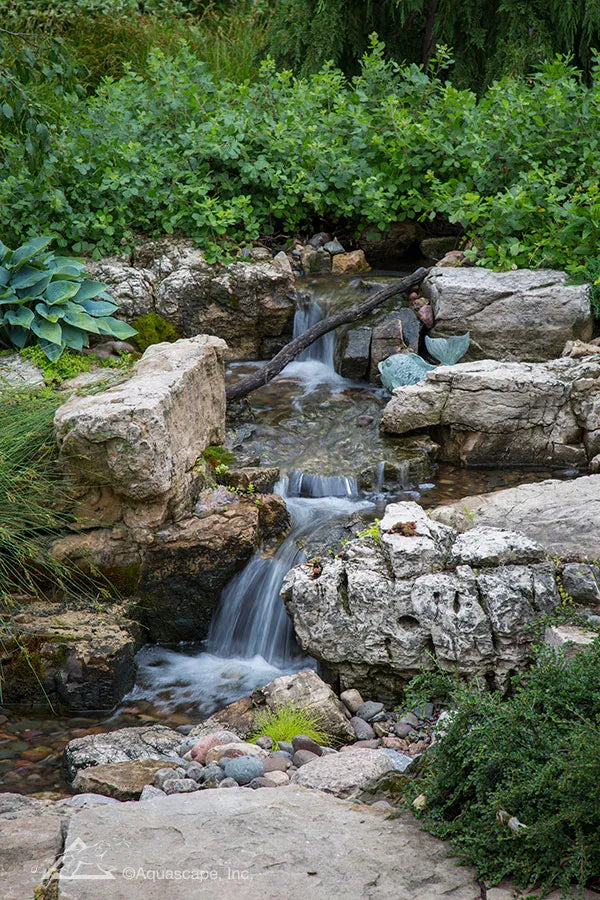
How to Build a Pondless Waterfall
Using Aquascape's Pondless Waterfall kit (available in both small and large sizes), home owners are able to add a water feature to their backyard with minimal effort and time! A pondless waterfall is an absolute show stopper for any backyard and can be done in an afternoon with a minimal crew. They are simple and easy to take care of with little up keep and maintenance required after installation. Let us learn how to build a pondless waterfall in this blog.
STEP ONE
Pick a spot for your pondless waterfall that can be easily viewed from all corners of the yard. Imagine how soothing the sounds of water will be when you're relaxing and make sure you set up the waterfall in an area where you can enjoy it.
STEP TWO
Mark out basin. Lay the AquaBox panels out where you want your water reserve to be and mark outline with marking paint. Draw your outline roughly 4 inches around the perimeter of the AquaBox blocks.
STEP THREE
Excavate basin. Luckily for this project, you will not have to dig down far or deep; only about 18-24 inches depending on the size of the kit you choose. Make sure you keep the excess dirt to be used later for filling the berm. Tamp and level the dirt so that the panels will sit level on the dig site.
STEP FOUR
Finish building AquaBox and place into the hole you've dug to ensure it will fit later in the installation. Remove box and spray outline for the vault insert. You will then set up the vault insert to be used as the plumbing source later.
STEP FIVE
Install underlayment and liner. Spread out liner along the bottom of the excavation site. Then add the liner to the top for more protection from water spillage.
STEP SIX
Set pump vault and AquaBox up. Place pump into vault and then place both into the AquaBox.
STEP SEVEN
Backfill sides of the basin. You will need to fill the area around the AquaBox with sand and or dirt. You can use your overflow dirt from previous steps here.
STEP EIGHT
Use cobblestones and large rocks to create your waterfall's shape. Once you have the larger stones secured, add river rocks to the rest of your reserve. Make sure the rocks you use are not so small that they clog the filter of the pump vault.
STEP NINE
Hook up pump and plumbing. Screw adapter into pump and place pump into water fall vault. The plumbing line will also be secured at this step.
STEP TEN
Build waterfall and stream flow pattern. Cover your reserve with the stream liner. Use large rocks to frame the waterfall flow pattern. The fewer rocks you use in this step the more natural the waterfall will appear.
STEP ELEVEN
Set waterfall spillway up. Place spillway above the water fall rocks. Ensure it is level but lean it forward to give a cascading affect. Cut hole in liner and place over the spillway opening. Hook up MPT fitting in the back of the spillway using silicone to secure it.
STEP TWELVE
Position and place underwater lights. Put in underwater lights and then bury cables with gravel. If you place lights under the flow of the waterfall you will achieve a beautiful, glowing chamber look. You can also place them around the waterfall to show off certain areas and add depth.
STEP THRITEEN
Trim liner and finish edges. Take liner, fold it down, and backfill with dirt or sand right up to the edge of the liner. Using a mix of gravel and dirt to fill your edges will make your waterfall look more natural.
STEP FOURTEEN
Enjoy! You now have a beautiful waterfall for your backyard. Summer dinner parties just got a whole lot more tranquil for you and your family.
**Gravel, stones and dirt needs to be purchased separately but is sold through our store front as well.**